Framing the Ceiling and Running Electrical
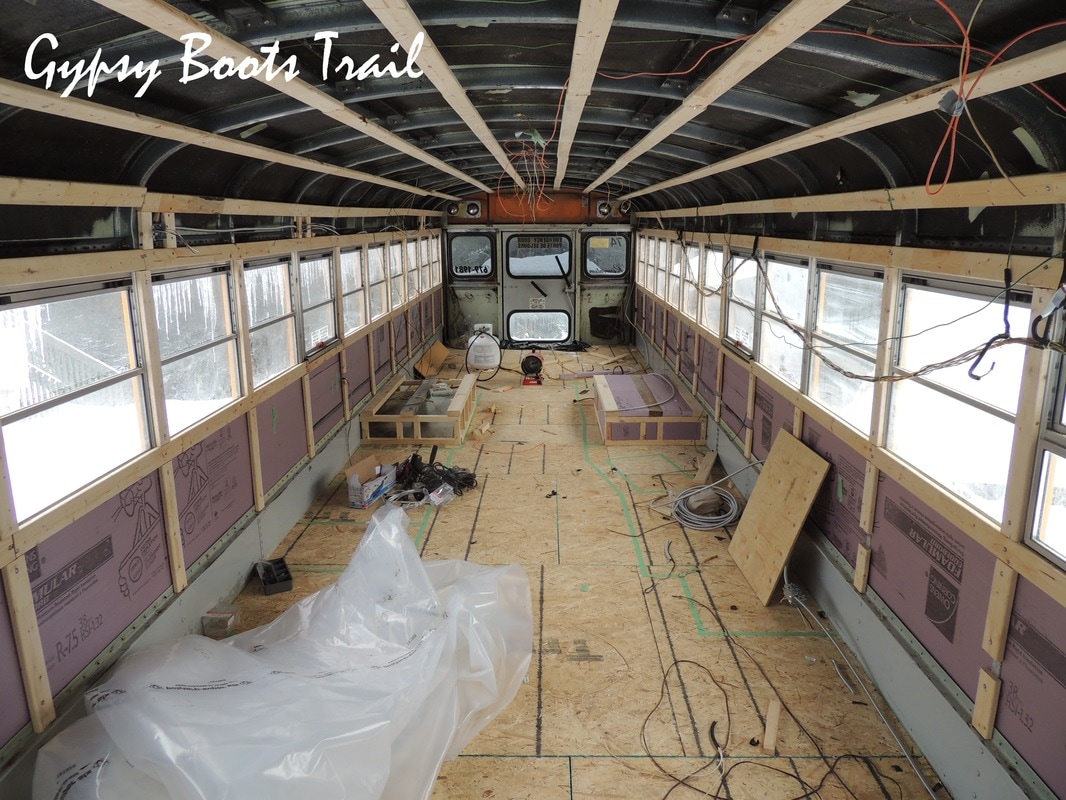
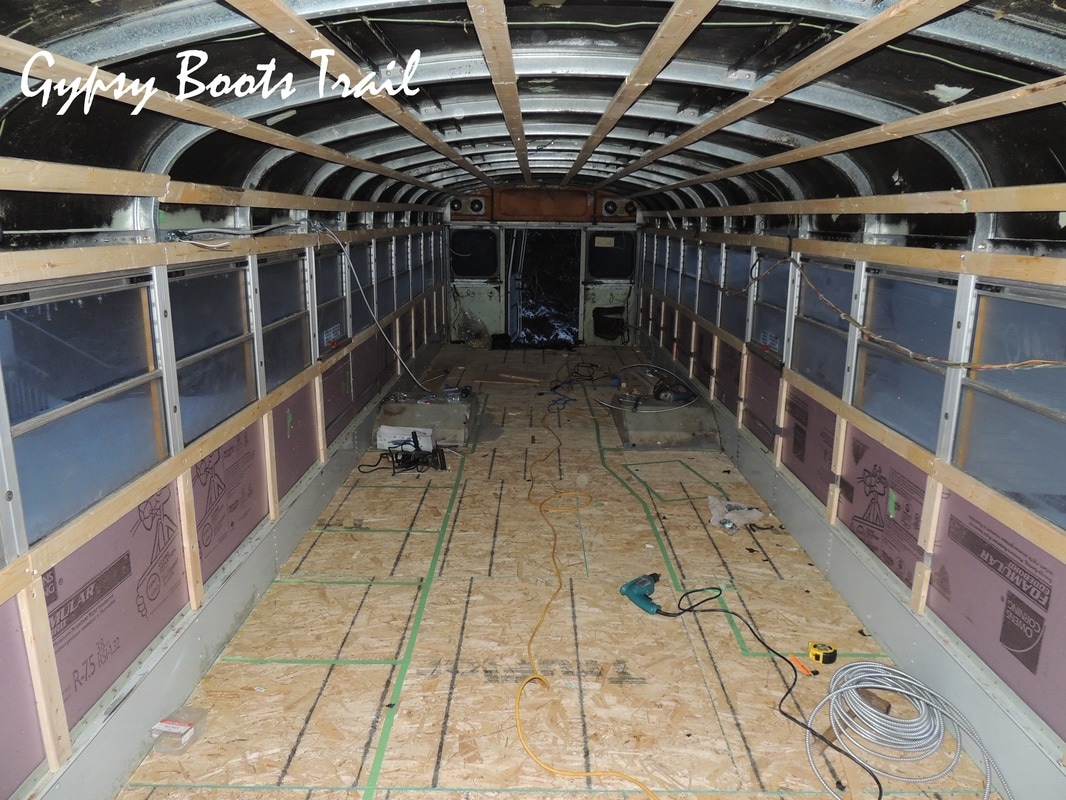
Another HUGE change to the appearance of the bus! This did not come together easily, but we were lucky to have the help of the family again.
To frame the ceiling, we first needed to decide how we would cover the ceiling. There is a lack of thorough tutorials on this topic and with the curve of the bus ceiling, its a unique challenge for the 'skoolie' crowd. The most popular way to cover the ceiling is with strips of wooden tongue and groove running from front to back. This is a simpler approach, that allows you to overcome the issue of the curve. Tongue and groove unfortunately though is currently out of our budget.
Looking for other solutions, we've seen some people use different types of large, flexible sheeting. The most ideal sheeting we could find was a flexible, yet stiff, vinyl… also, unfortunately out of our budget at $60 a sheet.
What we ended up finding, you can see a piece of in this photo, its 1/8 inch MDF sheeting. We brought a piece home to try it and it seems to take the curve of the ceiling well. Better yet, we found it with a white finish meaning we won't need to paint it.
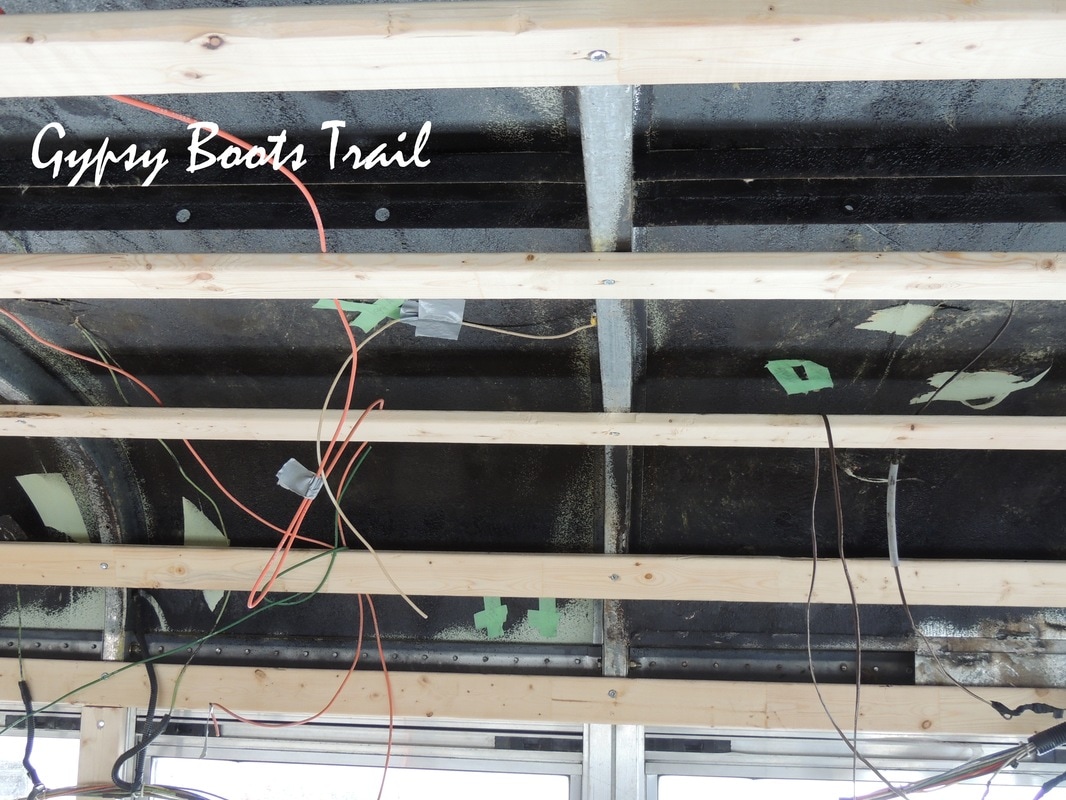
Knowing what we were going to use on the ceiling helped us make a plan for framing. We would run the 4x8 sheets, length-wise, on either side with a 15" wide strip down the middle. As the sheeting is pretty heavy, we decided to screw it in with wafer-head screws and washers, creating a wider hold and making sure the screws won't just pop through from the weight. On either side of the middle strip we will be using a plastic trim to cover the seams.
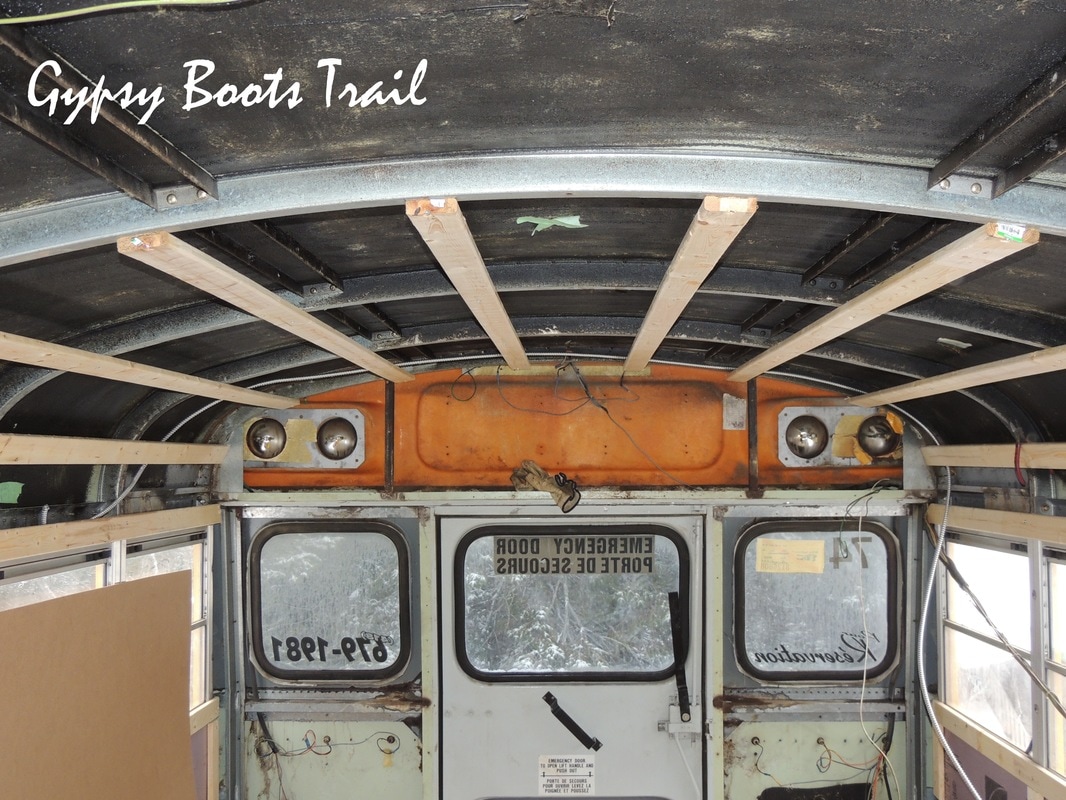
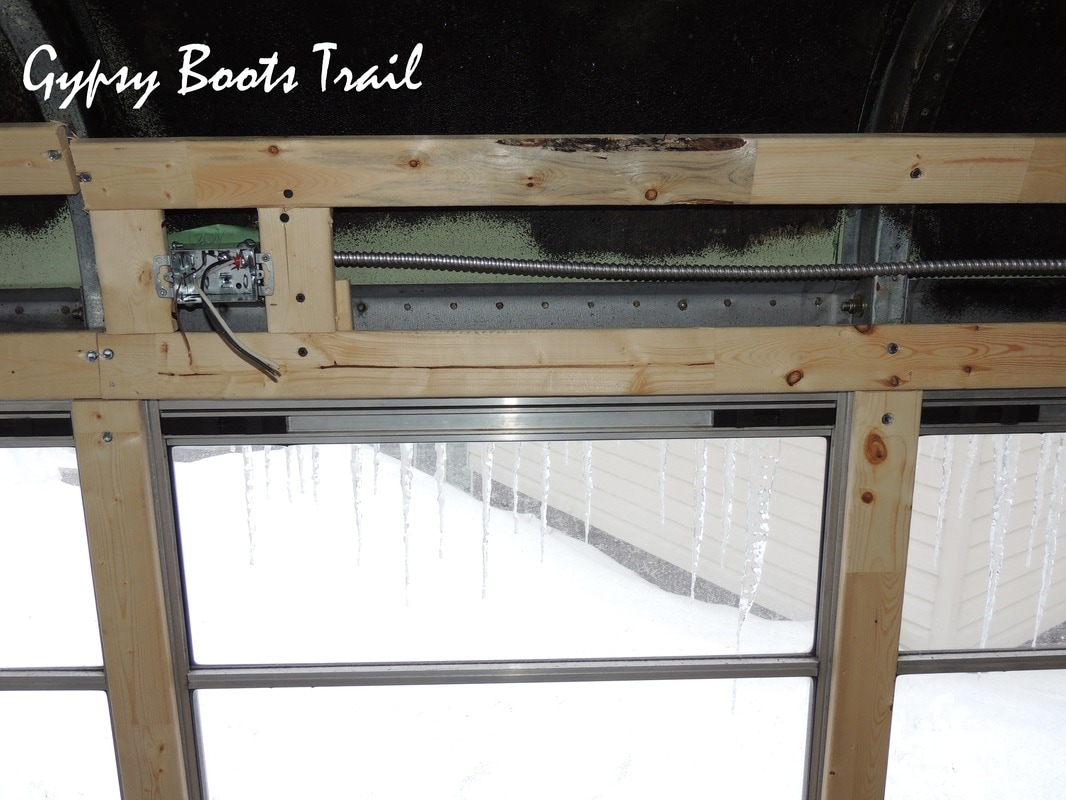
The last part of the framing project you can see in the top photo, it was the piece in between the windows. With the two screws and washers, to get the trim to lie flat and cover up the metal well, we had to notch of each piece individually, making room for the screws.
The last part of the framing project you can see in the top photo, it was the piece in between the windows. With the two screws and washers, to get the trim to lie flat and cover up the metal well, we had to notch of each piece individually, making room for the screws.
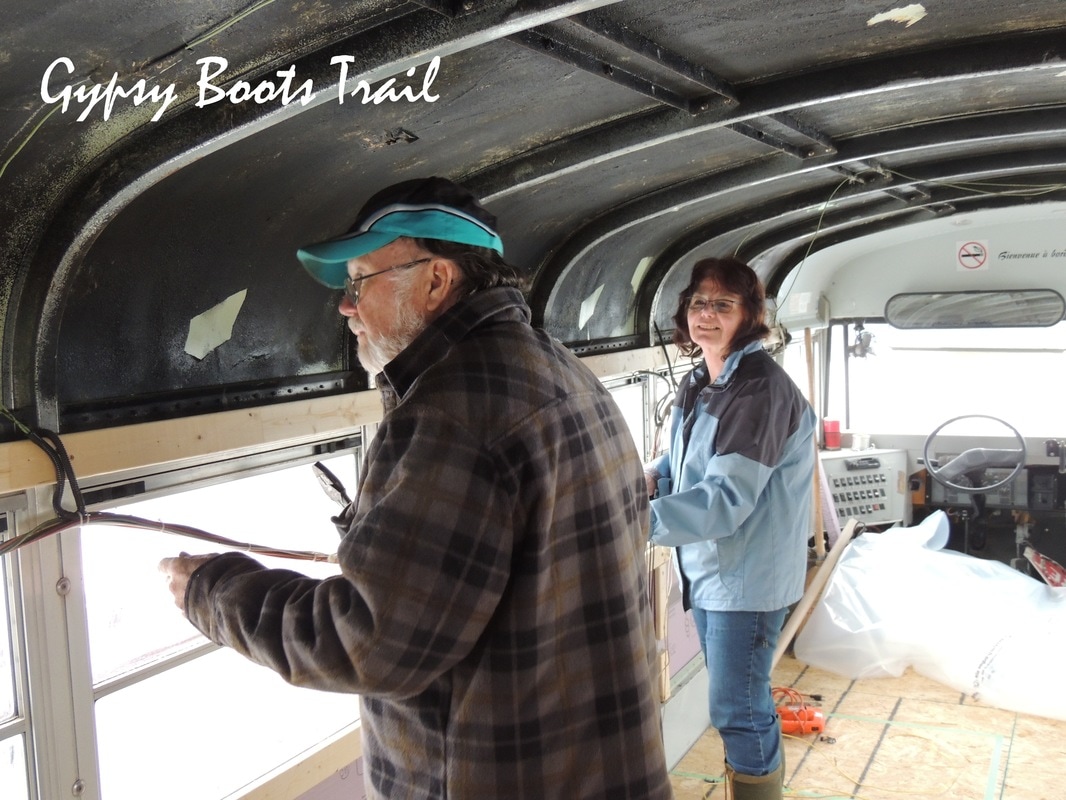
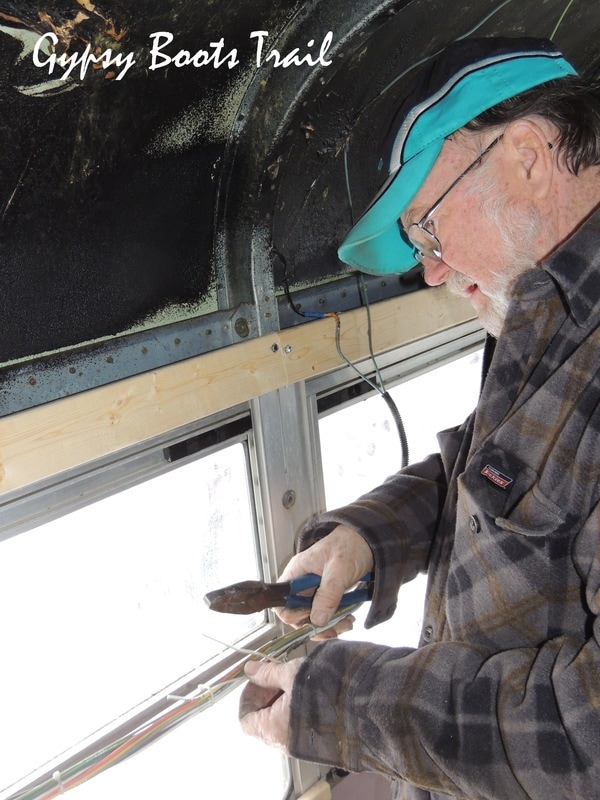
My dad is taking lead on the electrical side of this project for us as it is way beyond our knowledge. There is a thick group of wires which lead from the front of the bus to the back for the various lights (inside and out) emergency exit buzzers, and in some cases leading no where. To shrink the thickness of this group of wires which will be running behind our ceiling, he and mom sorted the wires out and removed the ones we no longer needed.
We no longer needed the wires running to the interior lights, the speakers, the stopping lights, and the emergency buzzers so these wires were taken out and re-used for our 12V needs within the RV/house. We will be using a standard RV electrical set up with 12V batteries, an inverter and converter, and the option to plug into 120V.
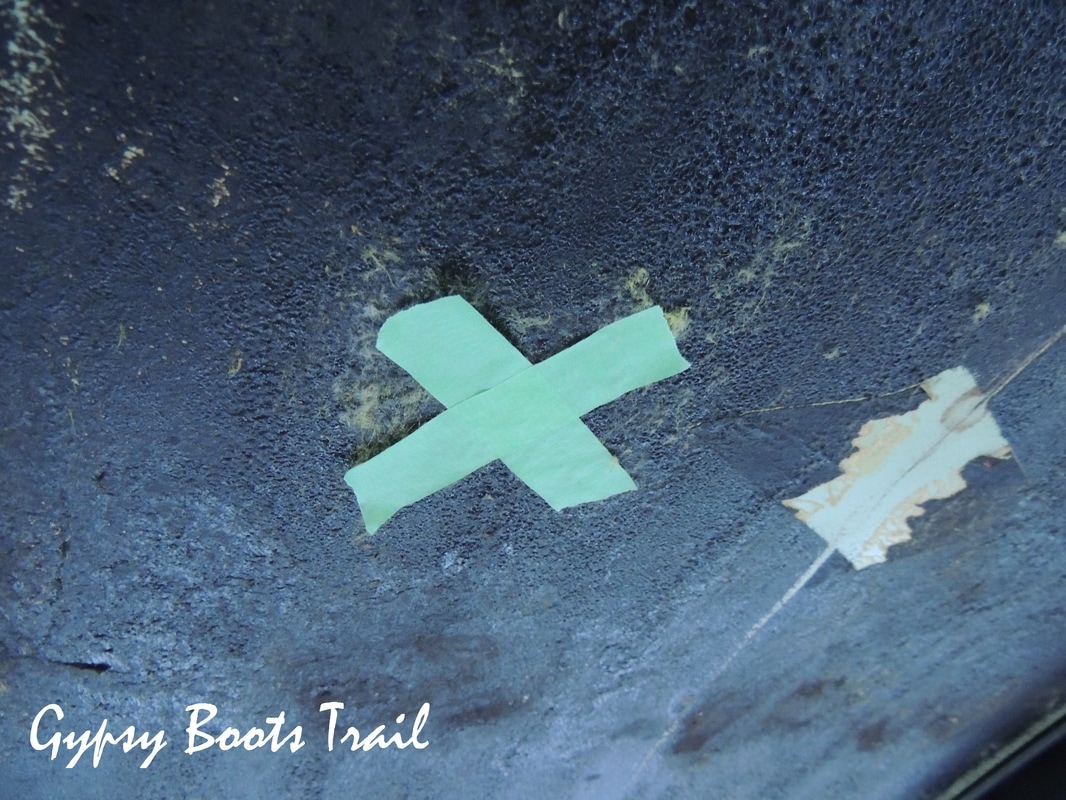
When I did the layout for the bus, I also taped off where every outlet, light, light switch, and 12V wiring would be. Once the framing was done we then ran the salvaged 12V wires to the various locations and to where our utility closet will be.
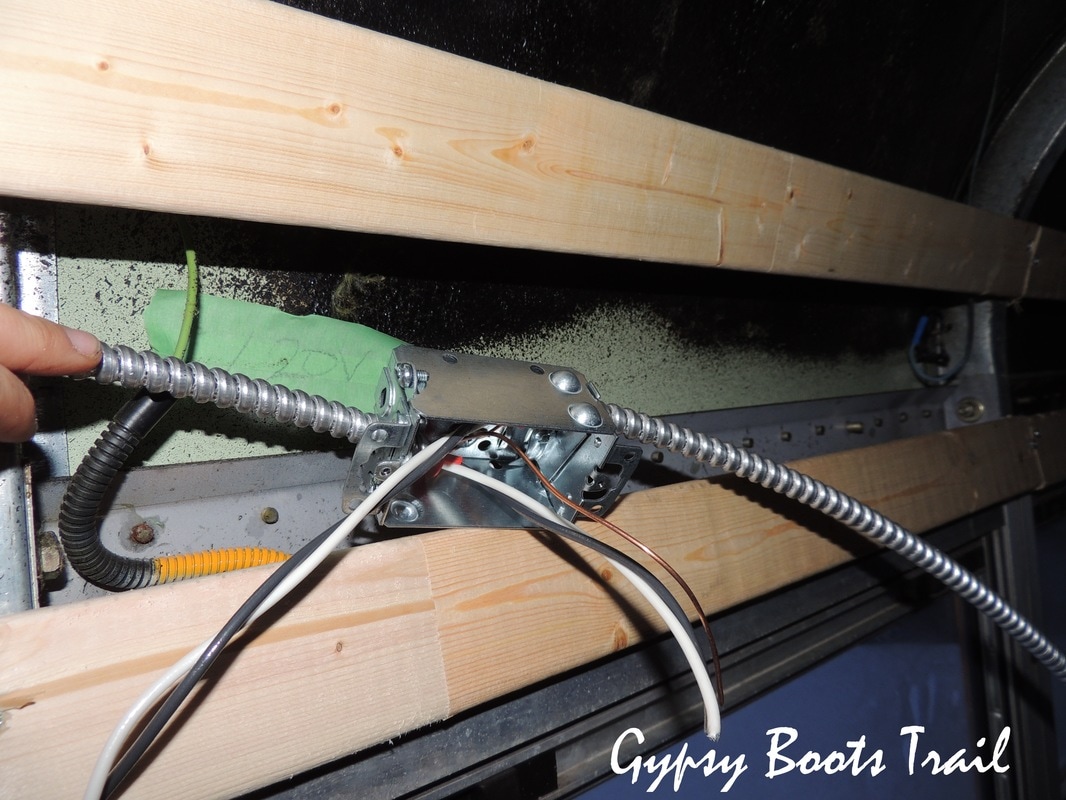
For the 120V system we bought 14/2 BX cable and ran two lines from where our fuse panel would be. The only thing on the 120V system will be 6 receptacles and because none of our appliances will run on 120V, two lines, with two 15 Amp fuses is all we will need. Above you can see one of the receptacles. I was explaining earlier about the wall framing that we left a gap for electrical on one side, but not the other. This is because one side of the bus has receptacles above the window and one has them below.
It took a little creativity to stabilize the receptacles, but dad figured it out. Its looking more like a house everyday!
 RSS Feed