Back Breaking Rust Removal
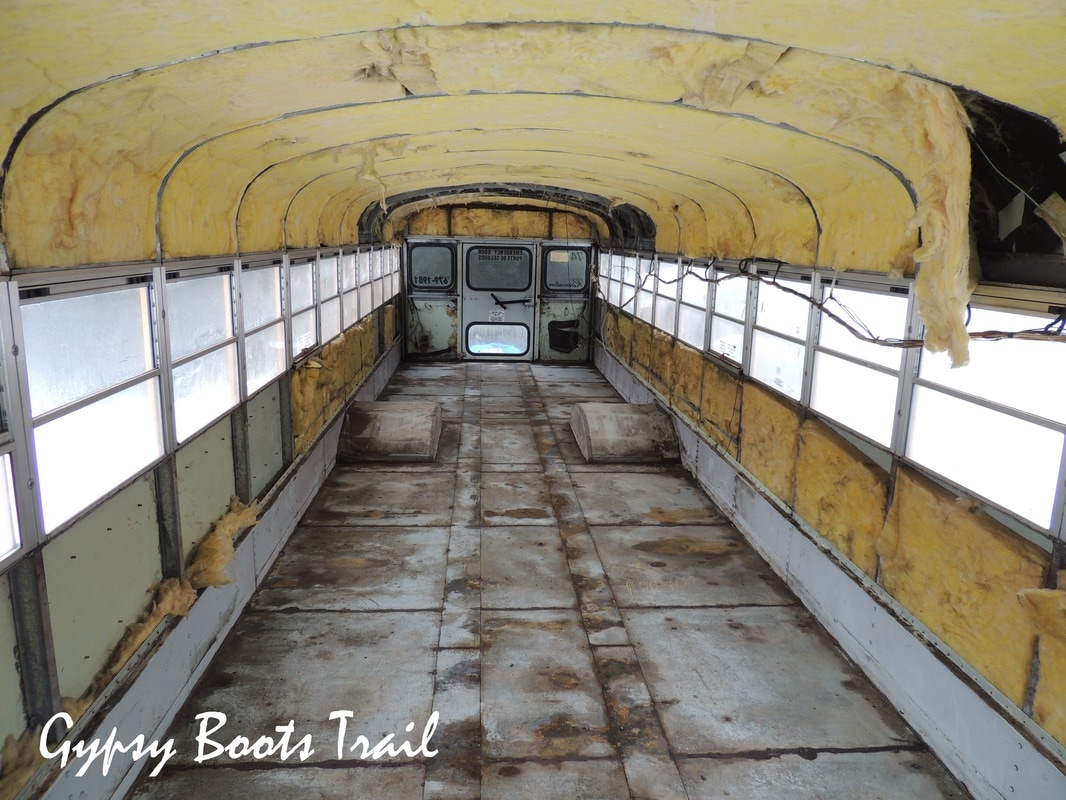
Demolition has finished!!!!! Finally. And it ended with what I would call the most grueling day yet. On our hands and knees we rid that bus of as much rust as possible and scrubbed it clean.
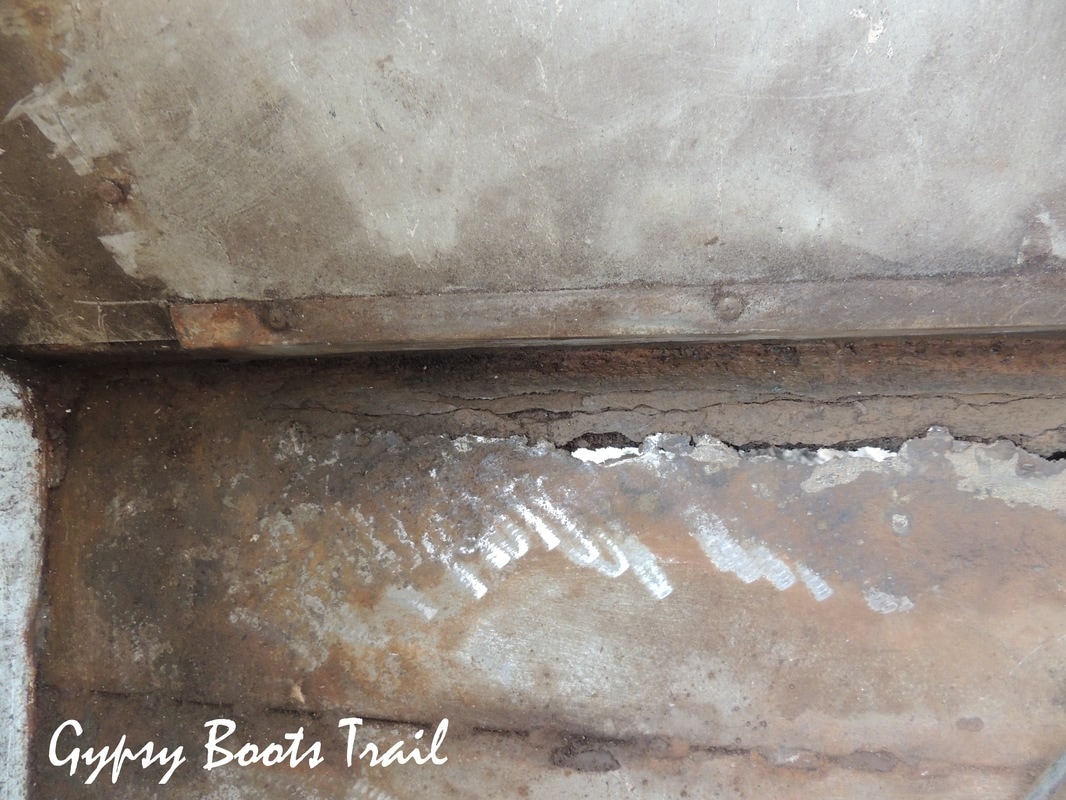
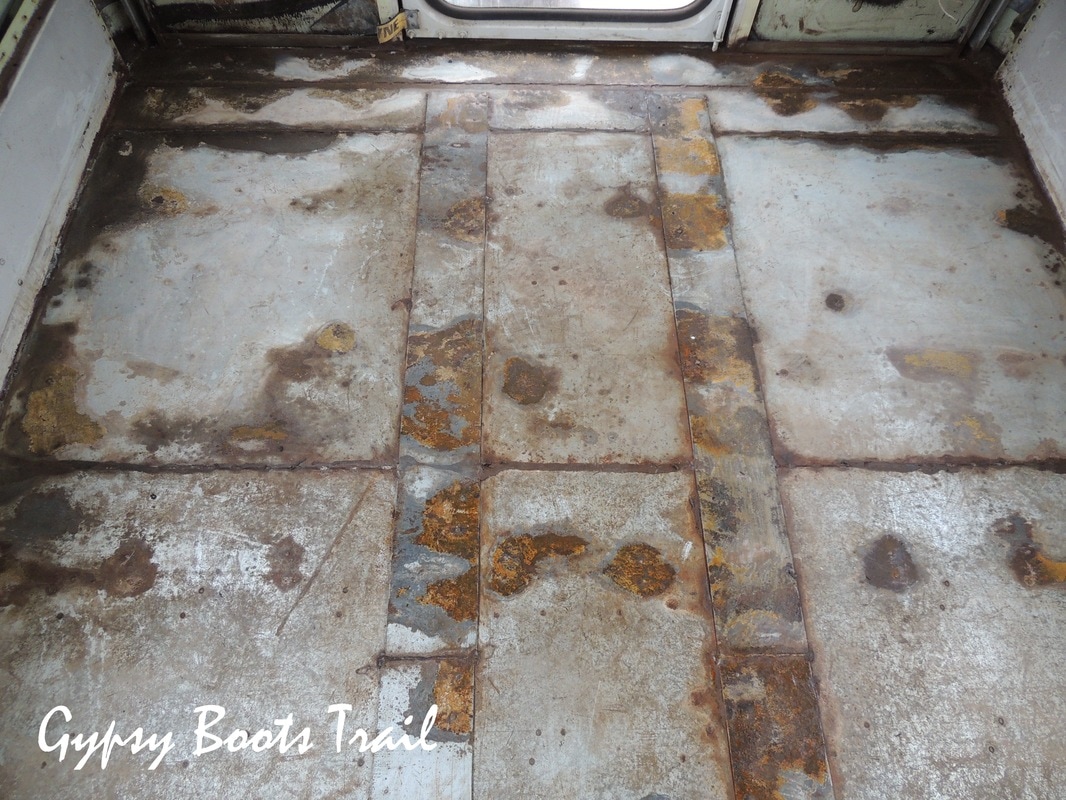
Our bus is by no means a ‘rusty’ bus, but that doesn’t mean it didn’t have large rusty sections. The worst of the rust was at the rear, near the wheel wells, and around the screws which were holding the seats and heaters into the floor.
Our bus is by no means a ‘rusty’ bus, but that doesn’t mean it didn’t have large rusty sections. The worst of the rust was at the rear, near the wheel wells, and around the screws which were holding the seats and heaters into the floor.
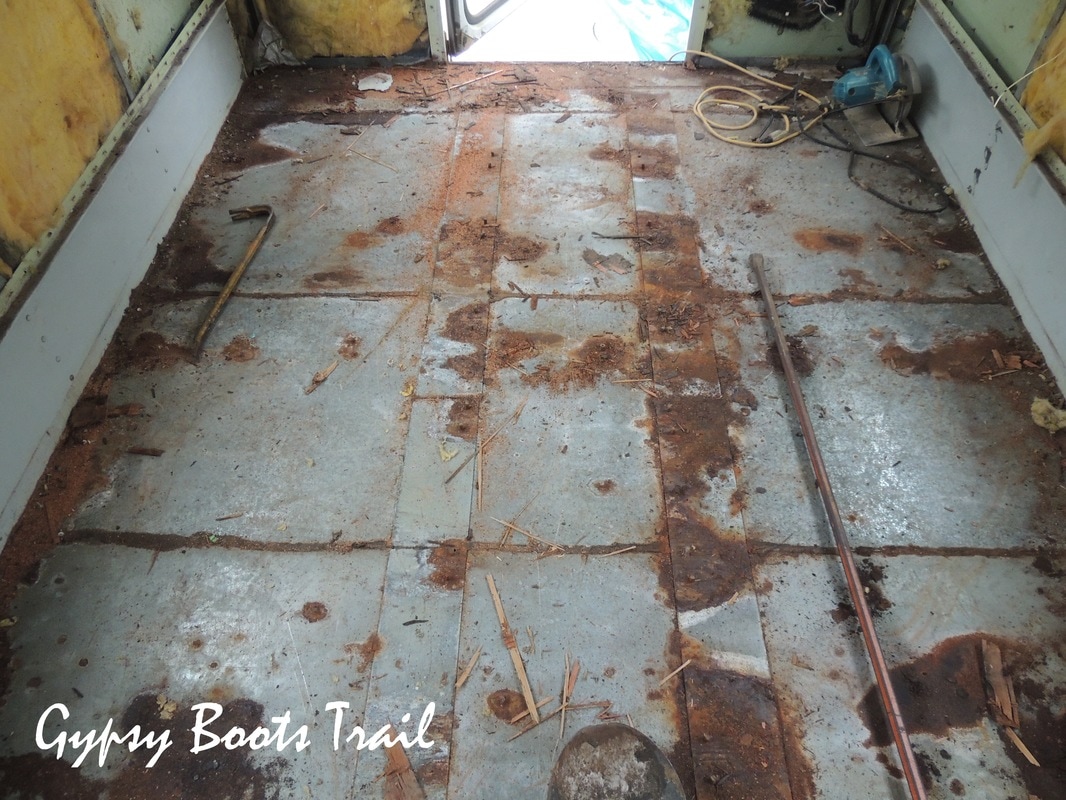
To remove the rust Phil and I took too different approaches. Mine, by hand, his, with power tools. He started by grinding the larger deposits with the angle grinder and cut the screws down that were sticking out of the floor. I decided to go slower but more thorough so as to not have to revisit any one section. I used a spackling tool and a wire brush. We then both used spackling tools and wire brushes to clean up the area Phil grinded.
Then came the grand finale, we split the bus down the middle and moved from back to front wire brushing the entire floor inch by inch. This was back break and elbow aching.
Then came the grand finale, we split the bus down the middle and moved from back to front wire brushing the entire floor inch by inch. This was back break and elbow aching.
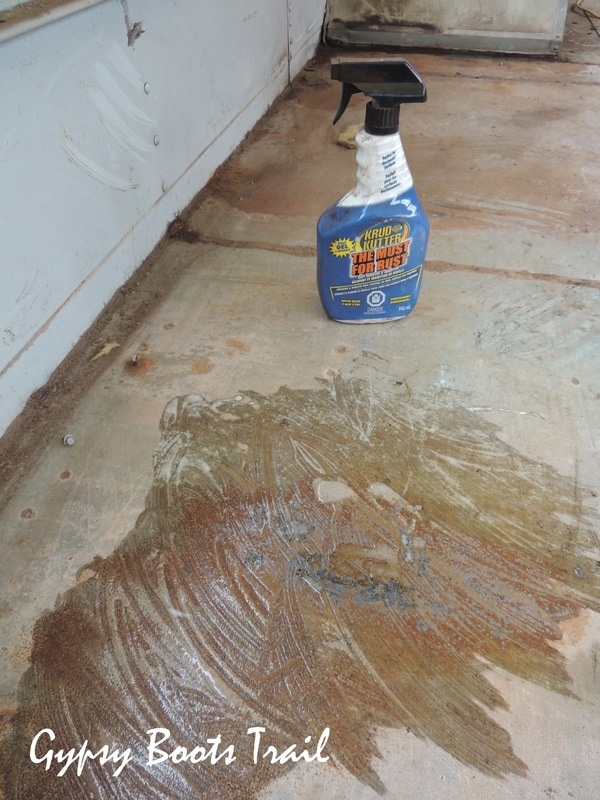
After sweeping and vacuuming the bus out we sprayed the worst areas with a rust removal cleanser, waited 20 minutes and scrubbed the whole floor with hot water. Phil followed behind with towels to clean up the rusty water and dry the floor. If it was any other time of year than summer this process would have been simpler; we could have hosed the bus down and let it sun-dry. Unfortunately, to avoid an ice rink we needed to scrub and dry right away.
Tomorrow we start building upward… though slowly, with a coat of rust preventing paint.
 RSS Feed