Insulating and framing Finished
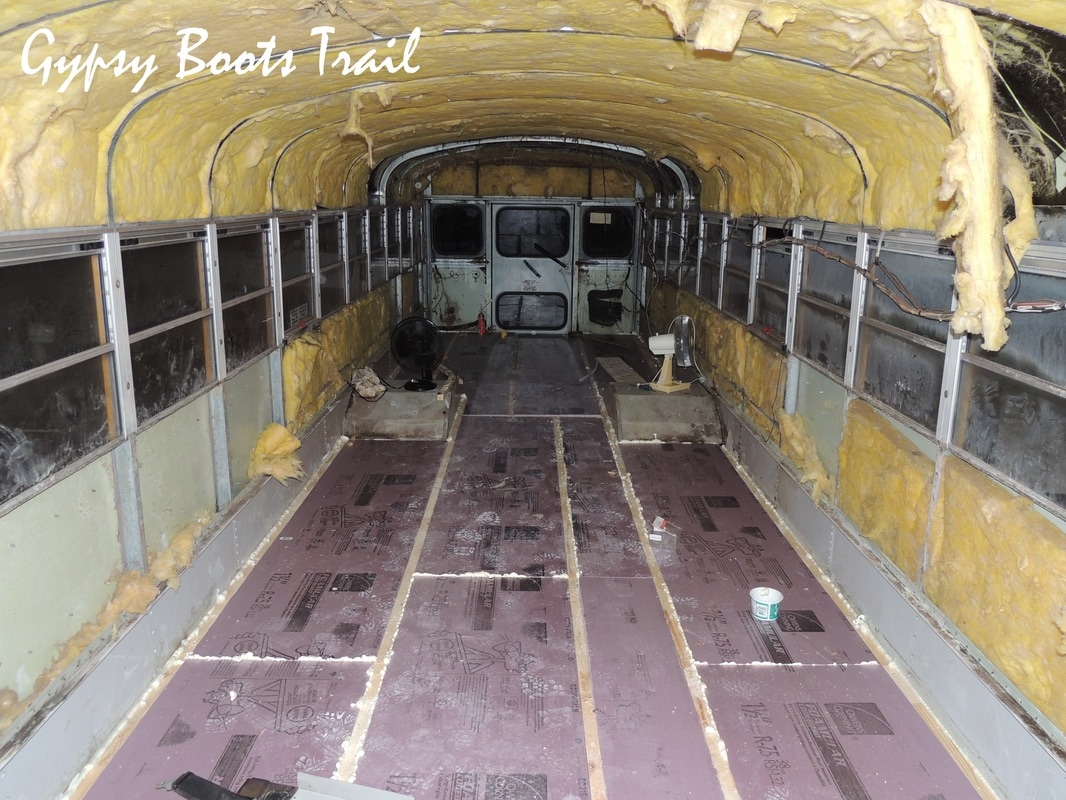
With the framing and insulating half done, I thought it'd be a quick job finishing it up, but it was a full day. Often i take these end of day shots in the morning when the suns up and the bus is brighter, but this time I thought I'd show how hard we've been working by getting the photo when we actually finished, completely in the dark; it is wash't for the camera flash the bus would have been completely black.
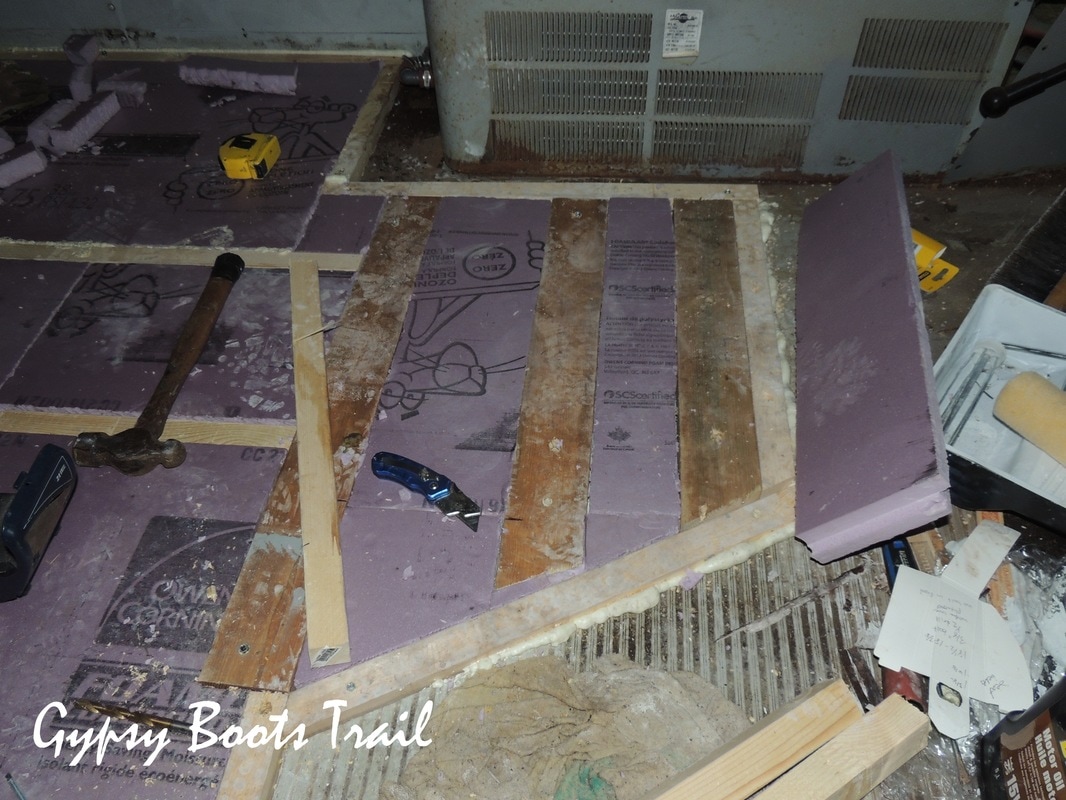
At the front of the bus, we covered up the driver seat area in order to insulate, but placed 2x4s over the old holes so we could more securely drill them out again. It was a riot measuring out where the holes were to draw them on the top of the 2x4s.
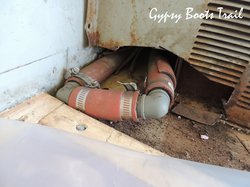
 | It was also now time to worry about removing the heaters that had been getting in our way ever since we removed the seats. To do this we cut the hoses and drained the coolant out of the them. We couldn't cut them under the hood as we had originally planned because the same hoses going in from the hood were needed for the drivers heat and removing the drivers console was a risky job we didn't want to undertake. So after cutting them inside, we fit them into a little space not being |
insulated, and used two 1 inch 'elbow' joiners and 4 clamps, we reused from the cut hoses, to feed them into each other. Dad was worried about the bus bumping the hoses around and cutting them on the metal hole they came out of so we cut the hole larger and wrapped another section of hose, split open, around the one closest to the cut edge. Looks better than I expected!
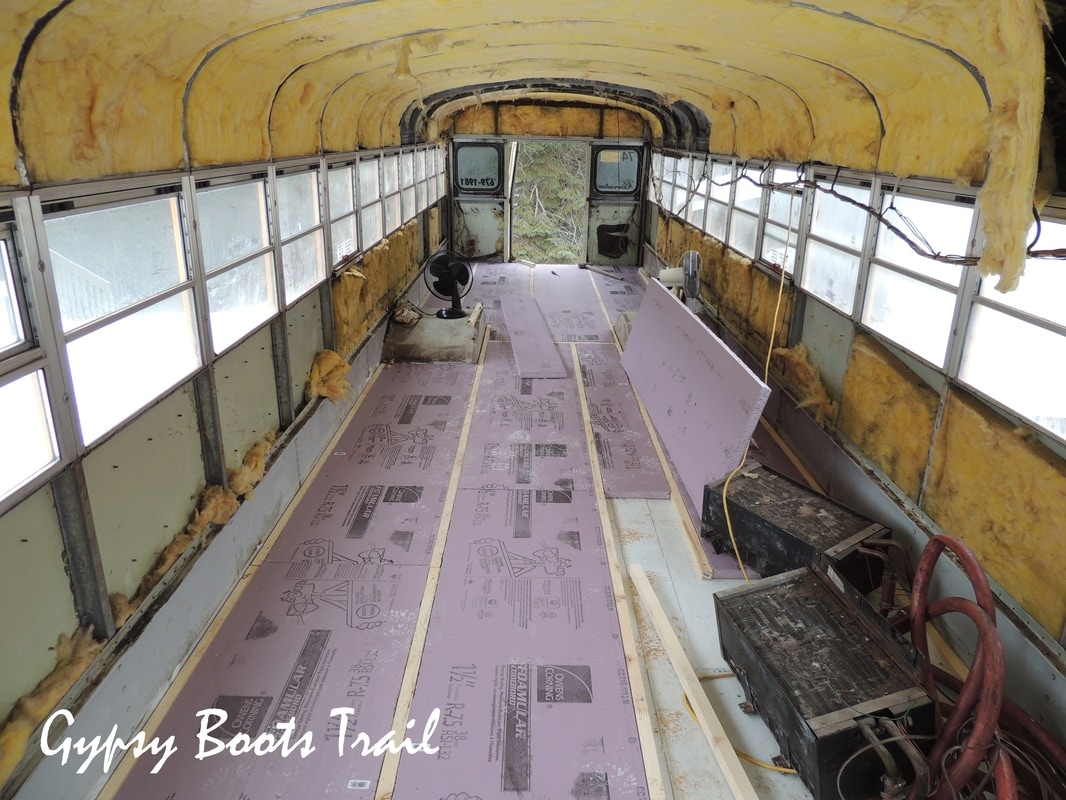
The final thing we did was to use foam crack sealant to fill the space in-between some of the worse fitted pieces of insulation, around the wheels, and along the side walls. This was simply an extra measure, we figured if we were going to do this, we better do it right!
 RSS Feed