vapour Barrier and Plywood
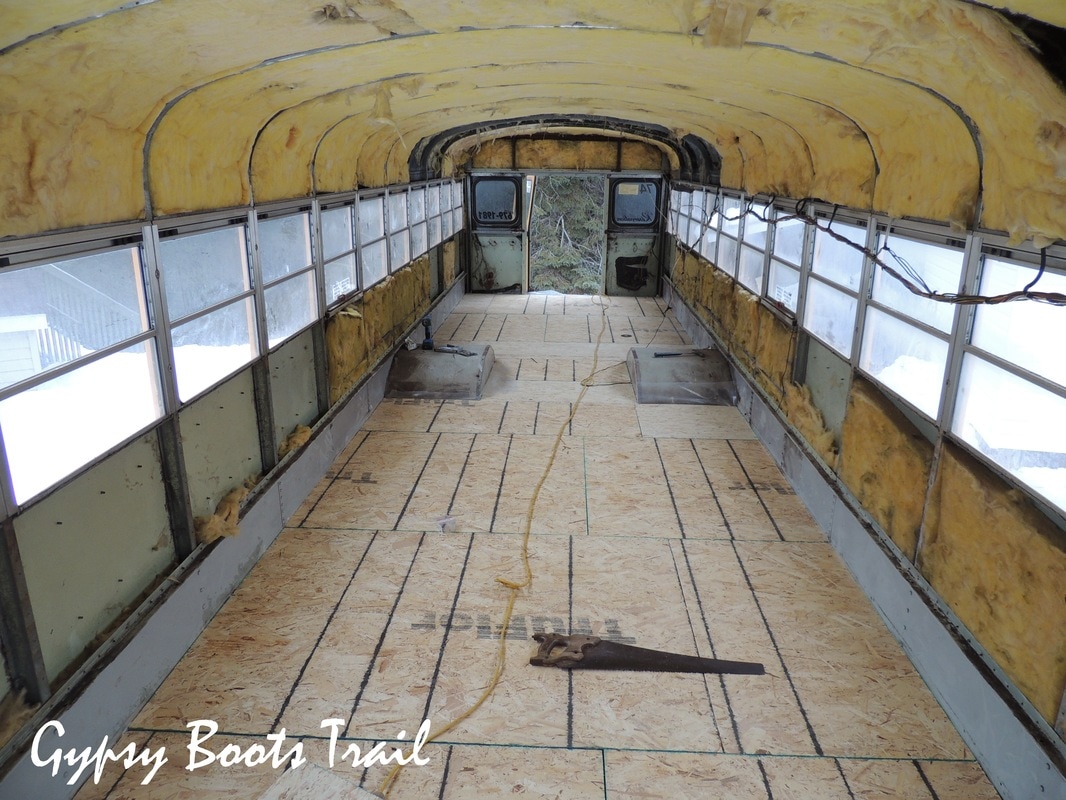
What a difference having the plywood down on the floors has made! Its incredible, it looks more and more like a house everyday! I am happy to announce today we laid the plywood! So many exclamation marks, but I just can't stop!!
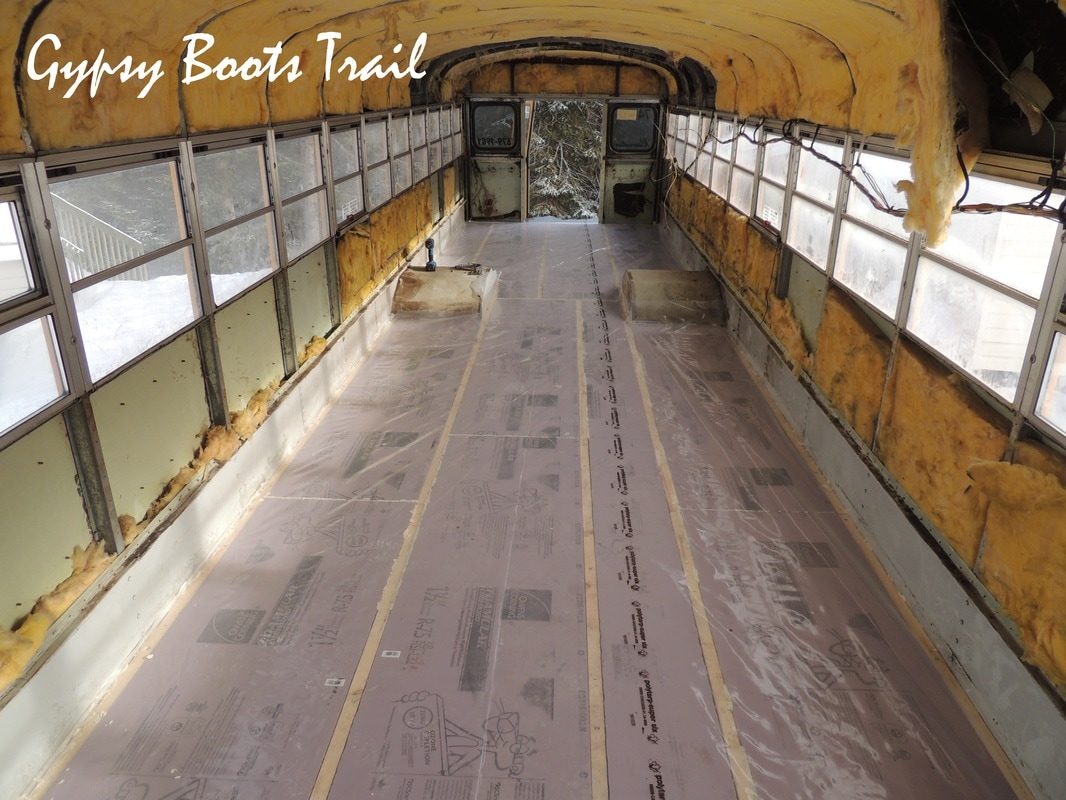
Before laying plywood, we needed to pay a vapour barrier. This is a step I repeatedly forgot about when we discussed future steps and plans, even when we went shopping the other day, so I was partially worried I'd forget to do it when the time actually came. Luckily, Phil took on the responsibility of remembering and we got it done!
So, heres when I want to say 'I told you so'… but I'll hold off. haha
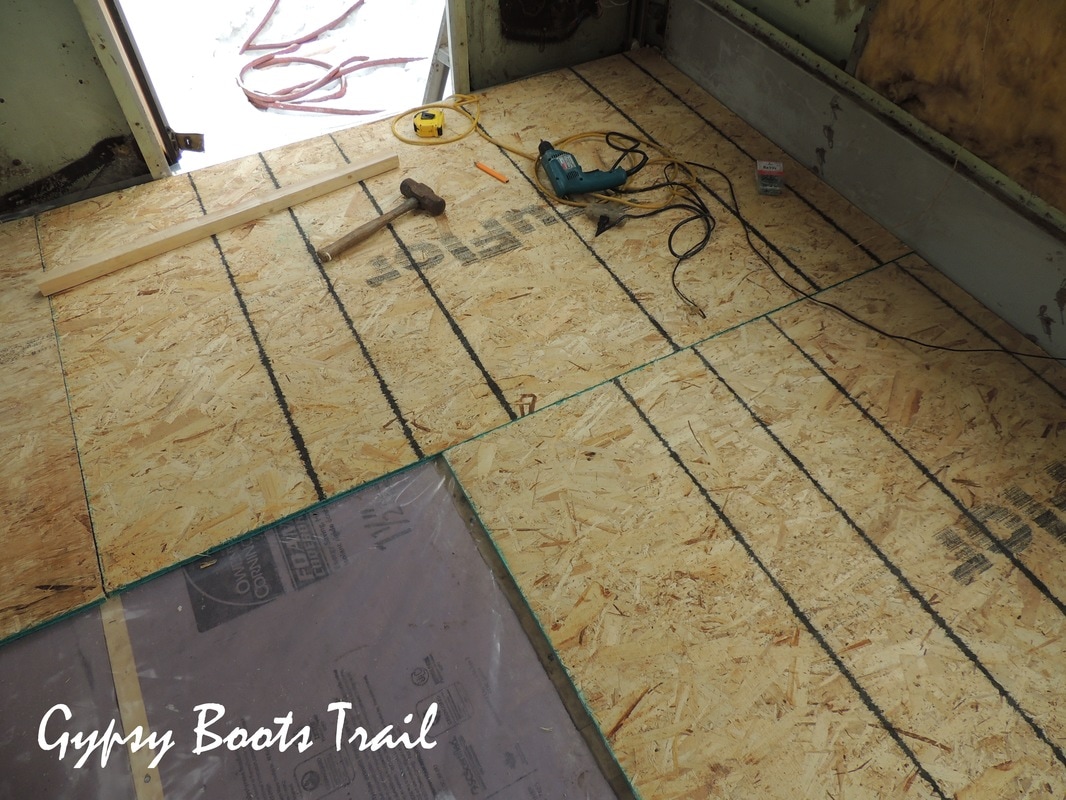
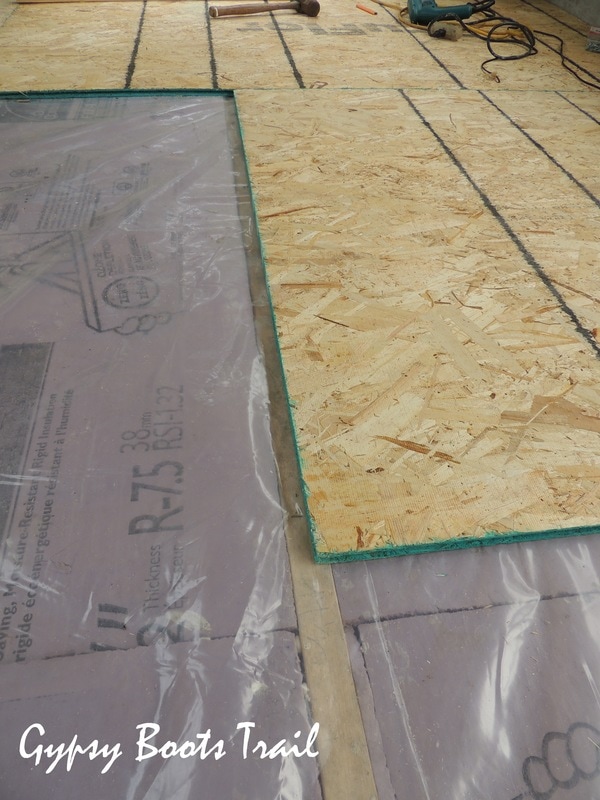
In framing the floor along the length of the bus, we were supposed to have made it extra strong by being able to lay a single sheet of plywood width-wise (the bus is 7.5 feet wide). However, by leaving the metal railing on the wall we made certain we couldn't do this. Phil and I fought and fought and fought a piece of plywood, trying to get it to lie down on the floor but alas, we had to cut it, it wouldn't drop below the railing on both sides… So much for this part zipping by!
In framing the floor along the length of the bus, we were supposed to have made it extra strong by being able to lay a single sheet of plywood width-wise (the bus is 7.5 feet wide). However, by leaving the metal railing on the wall we made certain we couldn't do this. Phil and I fought and fought and fought a piece of plywood, trying to get it to lie down on the floor but alas, we had to cut it, it wouldn't drop below the railing on both sides… So much for this part zipping by!
I made it all seem a little dramatic, I know, and in reality it wasn't that bad. The hard thing about cutting the plywood was simply getting two pieces to meet together in the middle of a 2x2 so they both could be screwed in.
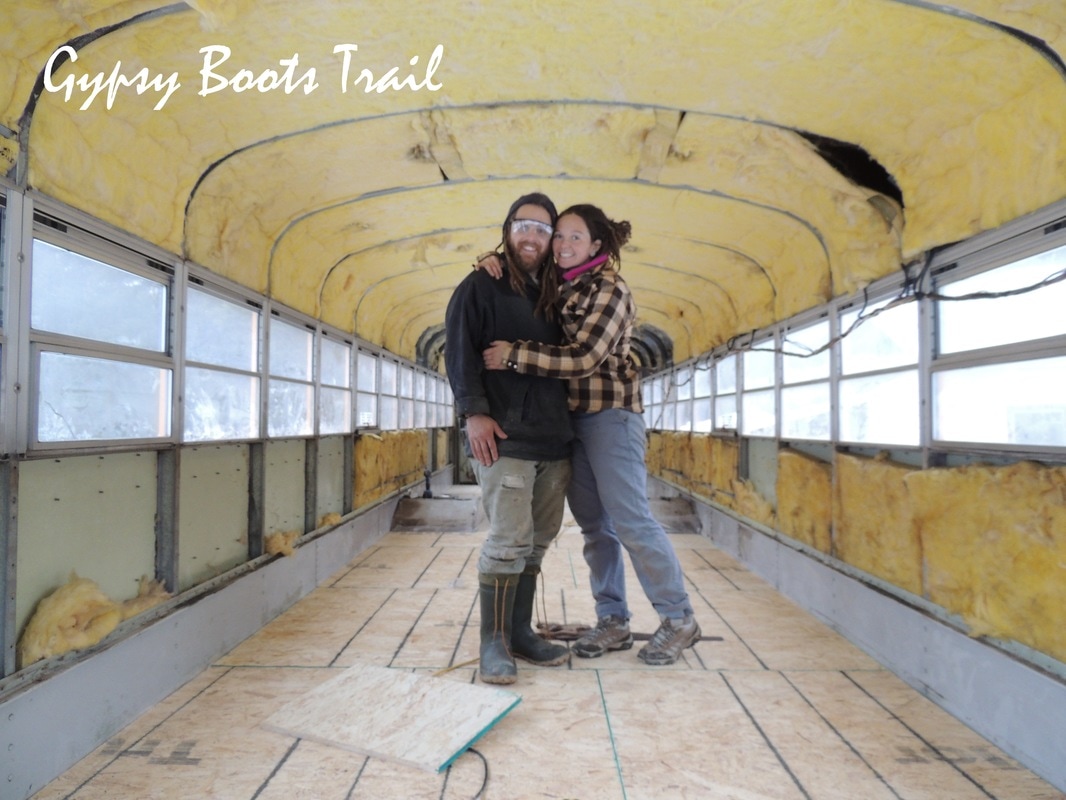
And there you have it! Two happy people on a brand new plywood floor! And there you have it again, more exclamation marks!
 RSS Feed