Closing in the Walls
Full disclosure, not all of this work came together in one day, but for simplicity sake I've put it all in one post.
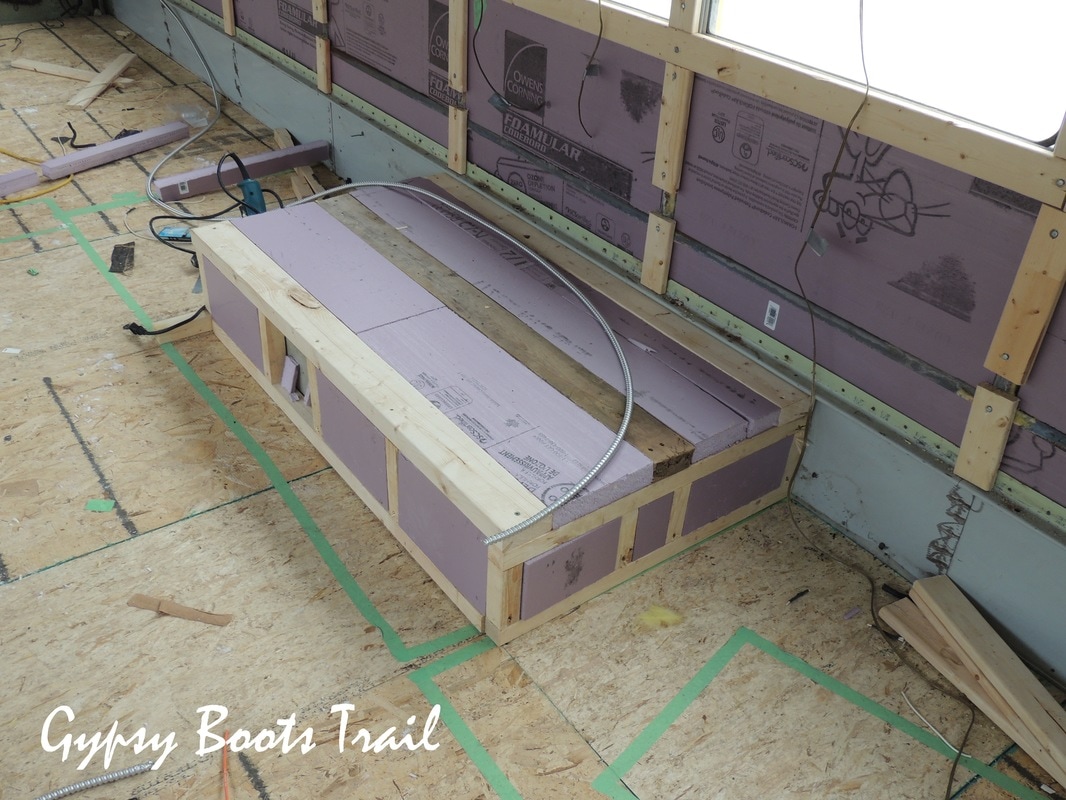
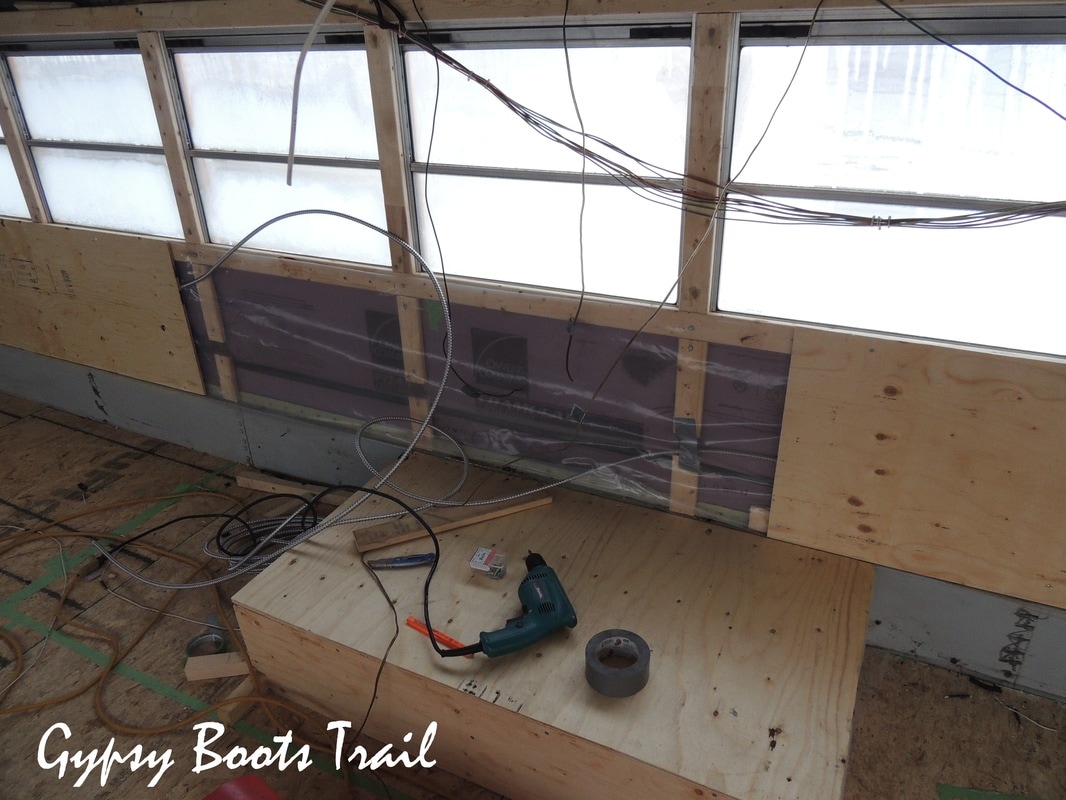
| Despite insulation and framing there still is moisture able to come into the bus. The self-tapping screws into the frame for example are always moist when the bus is heated inside. This is why we added a moisture barrier, over the insulation, framing, and wiring, as added protection to keep the walls dry and warm. |
The Back Wall
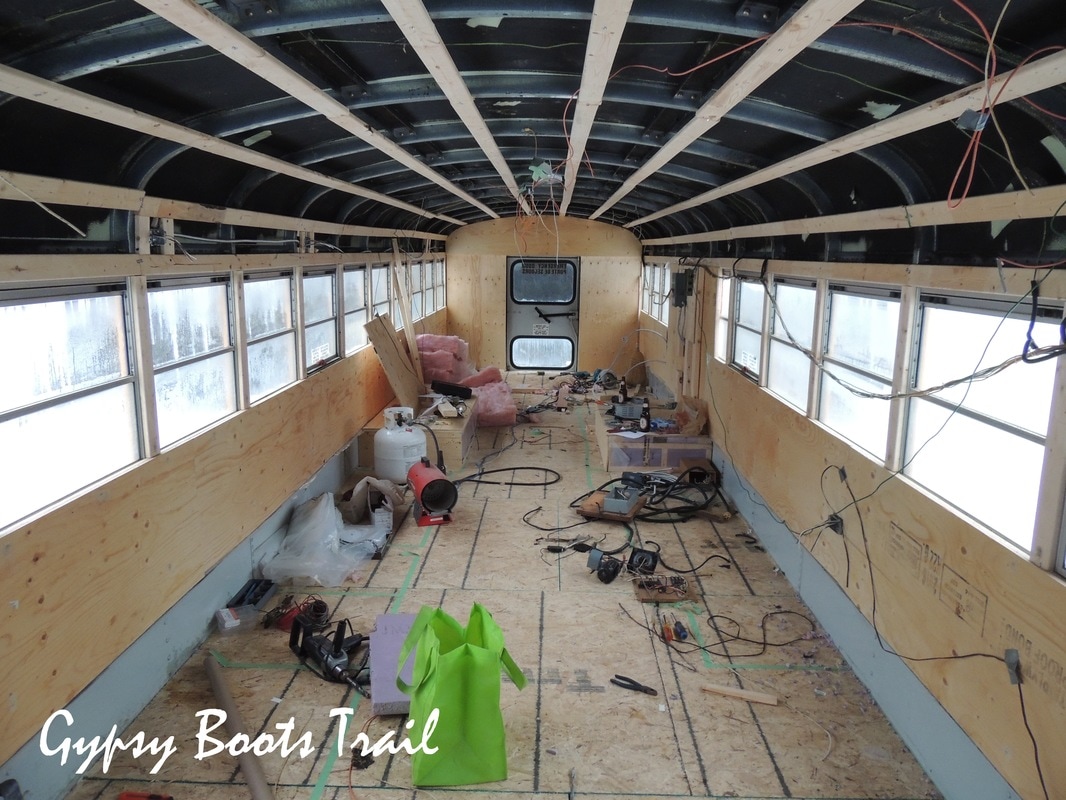
The back wall of the bus was especially difficult to deal with. We both though finally admitted to have been avoiding bringing it up for weeks and decided it needed to actually be dealt with.
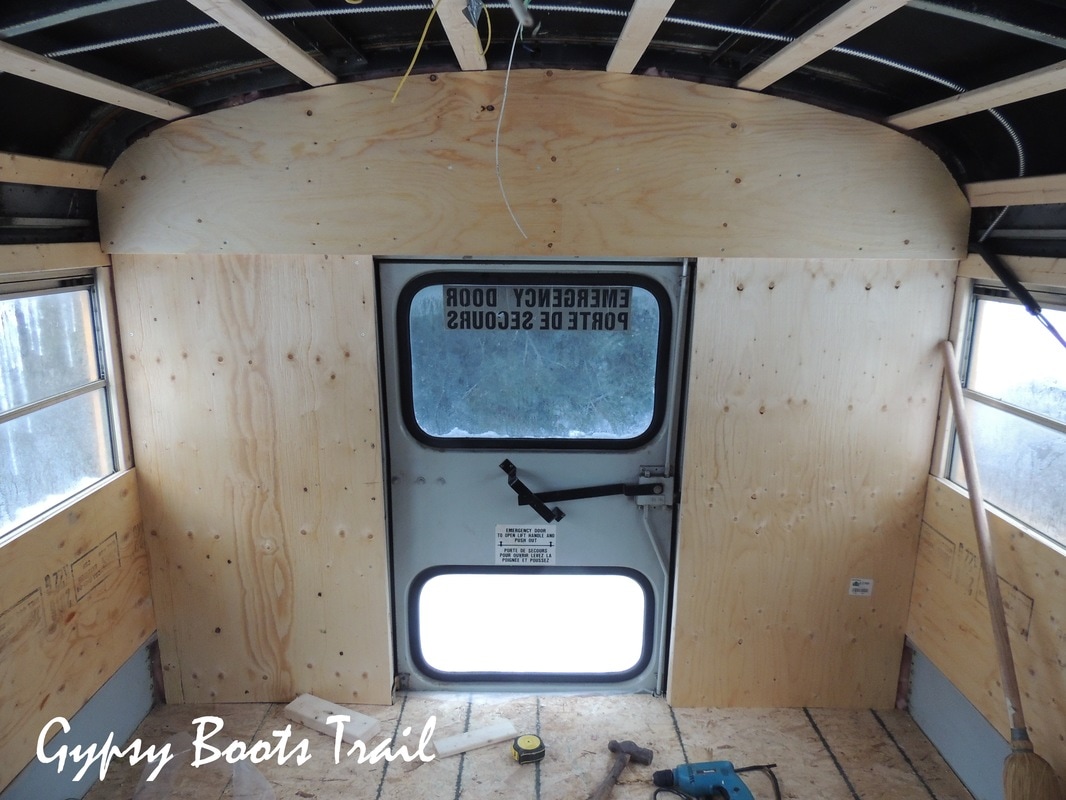
The back door we had already decided to leave as is. Currently we won't be using it for any reason but we like the idea of having the additional exit and maybe one day using it somehow.
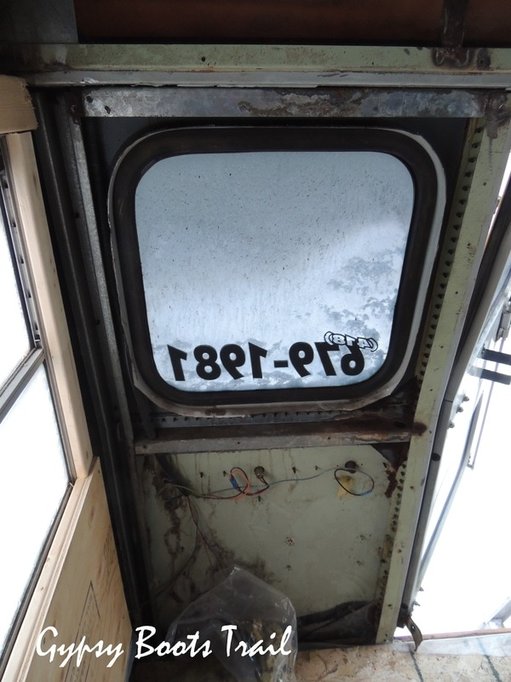
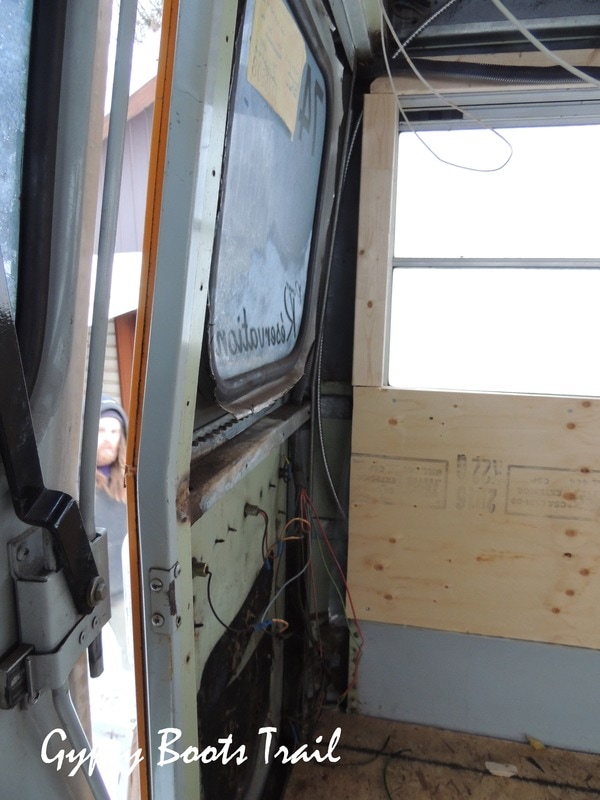
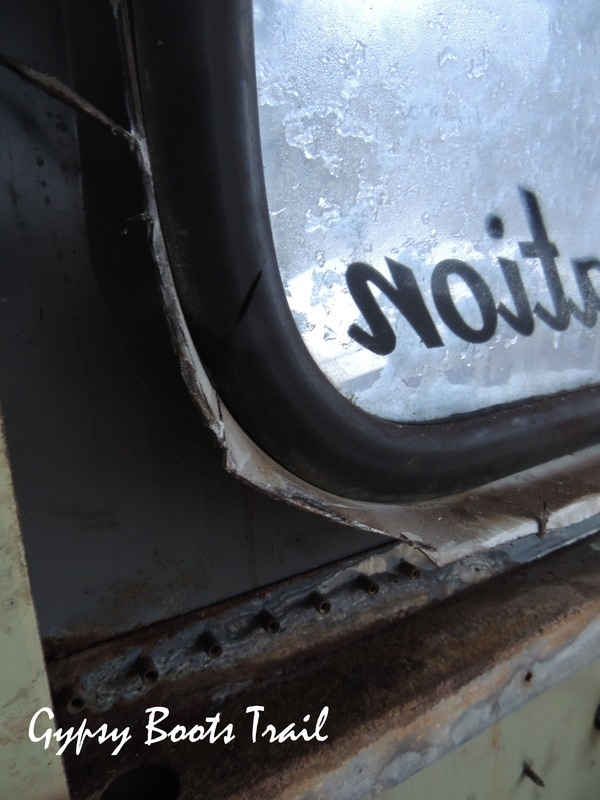
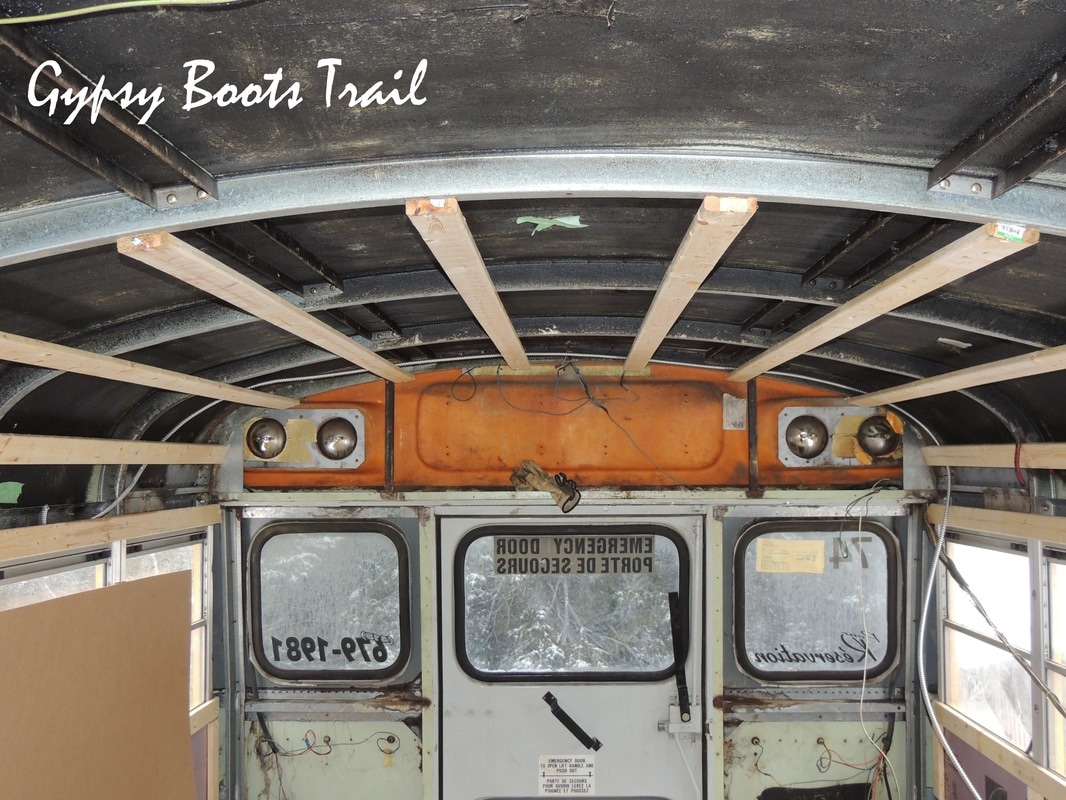
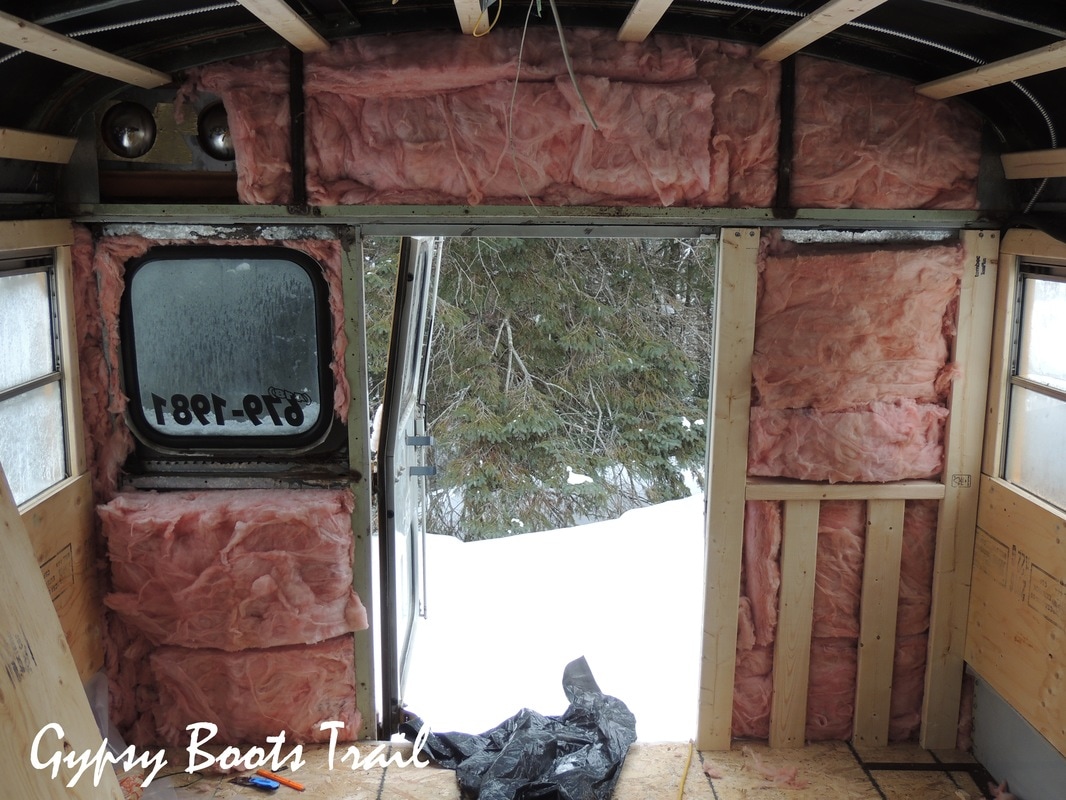
As you can see from the photos above, the other three sections that make up the back wall aren't ideally shaped. On either side of the door, the wall is curved outward like a narrow chevron, as well, the windows are built into the back wall in such a way that if they were removed, there would be a whole, and if kept, framing around them would be a nightmare. To remove the inside wall panel we had to use the grinder to simply cut around them; this left sharp and uneven metal edges.
As you can see from the photos above, the other three sections that make up the back wall aren't ideally shaped. On either side of the door, the wall is curved outward like a narrow chevron, as well, the windows are built into the back wall in such a way that if they were removed, there would be a whole, and if kept, framing around them would be a nightmare. To remove the inside wall panel we had to use the grinder to simply cut around them; this left sharp and uneven metal edges.
The third section, above the door and the width of the bus was the only place on the bus without an exterior metal wall. It was only fibreglass and had in it the large stopping lights used for school pick-up. The most difficult part of this section was the arch, thinking of closing it in with plywood would really put our carpentry skills to the test.
After a lot of discussion and brainstorming, we decided with our skill set, and with an internal push to get the walls finally done so we could tackle the ceiling, we would simply cover up the back windows, running plywood interior walls straight down and covering the angled wall. We insulated all three sections with 6inch pink fibreglass insulation, framed them with 1x2s and covered them with 1/4" plywood, same as the walls. This made the two side sections a dream, but the arch above the door was as daunting as expected. Not being professional carpenters, we came up with what I think was a pretty good idea of how to trace the angle and measured the height of the upper section every 3 inches, then marked the heights on the plywood and connected them with slightly angled lines.
 RSS Feed