A lot of people think making your own bread by hand is too time consuming and difficult, but trust me, its not at all! Yes it does take a few hours BUT you don't have to be paying attention to it all of that time. So pick a day when you will be at home for a few hours and lets make some bread!
This is the most basic bread recipe you'll find.This is partially because I am a simple type of girl, but also because I don't believe bread should be filled with oils, sugar, lots of salt, or any of that unnecessary stuff that makes it less nutritious for you.
This recipe makes 2 loaves, I always freeze one so I can take next weekend off from bread baking.
|
INGREDIENTS
• 6 cups of flour
• 1 tsp salt • 3 cups of warm water |
%20from%20Gypsybootstrail.weebly.com)
In a large goal mix together the flour, yeast, and salt. Then add water in 3 parts, stirring as you go.
You can start stirring with a spoon, however, by the last cup of water you will need to mix with your hands.
Once the liquid has all been incorporated, your dough is ready to knead. Flour your countertop so the dough doesn't stick and knead by pushing down into the dough with the palms of your hands, using a lot of strength, and pushing the dough outwards. Do this three times and then fold the dough over and repeat pushing down and out. Fold again and repeat. You want to use a lot of pressure, but you don't want to tear the dough. I usually knead for about 7 minutes. This is the crucial process thats going to help activate your yeast.
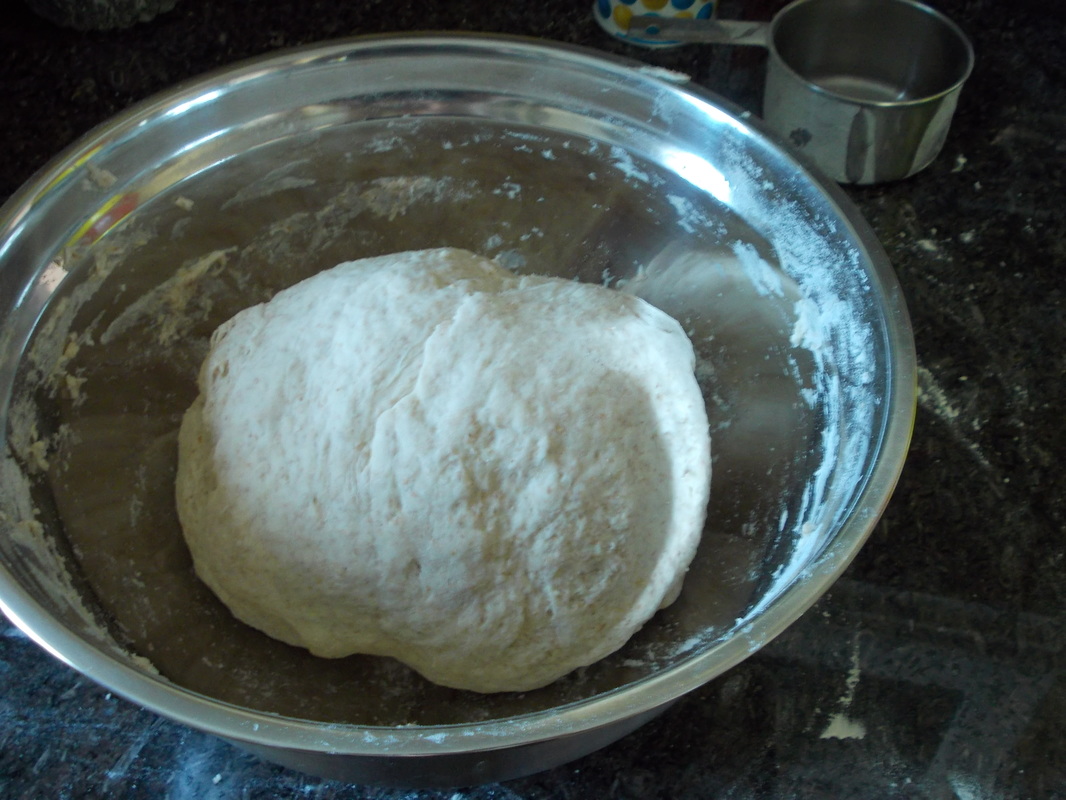
Once you've finished kneading you want arrange the dough into a nice ball, place it back into the bowl, drape the bowl with a tea towel and then set it on a high surface (like the top of your fridge) and let it rise. Rising time is always different. Usually between 1 and 1.5 hours. You can check it periodically and you will know its done when its grown to about double the original size.
You can start stirring with a spoon, however, by the last cup of water you will need to mix with your hands.
Once the liquid has all been incorporated, your dough is ready to knead. Flour your countertop so the dough doesn't stick and knead by pushing down into the dough with the palms of your hands, using a lot of strength, and pushing the dough outwards. Do this three times and then fold the dough over and repeat pushing down and out. Fold again and repeat. You want to use a lot of pressure, but you don't want to tear the dough. I usually knead for about 7 minutes. This is the crucial process thats going to help activate your yeast.
Once you've finished kneading you want arrange the dough into a nice ball, place it back into the bowl, drape the bowl with a tea towel and then set it on a high surface (like the top of your fridge) and let it rise. Rising time is always different. Usually between 1 and 1.5 hours. You can check it periodically and you will know its done when its grown to about double the original size.
Once you dough has risen, punch it (literally) and you will see it begin to deflate. Split the dough into two parts and knead then both again. Once kneaded shape you dough into the shape of your loaf pans, place the loaves into greased loaf pans, cover again, and set somewhere high for the second rise. It will take another 1 to 1.5 hours to rise.
Once risen, the dough is ready to bake.
Bake you bread at 415'F for 15 minutes and then turn the temperature of your oven down to 375'F and bake for another 30 minutes. Do not open the oven during this process. This temperate change mimics traditional baking practices and the temperature change that would occur if baking over a fire. Fire doesn't stay a constant heat the whole time, it cools slightly the longer it burns.
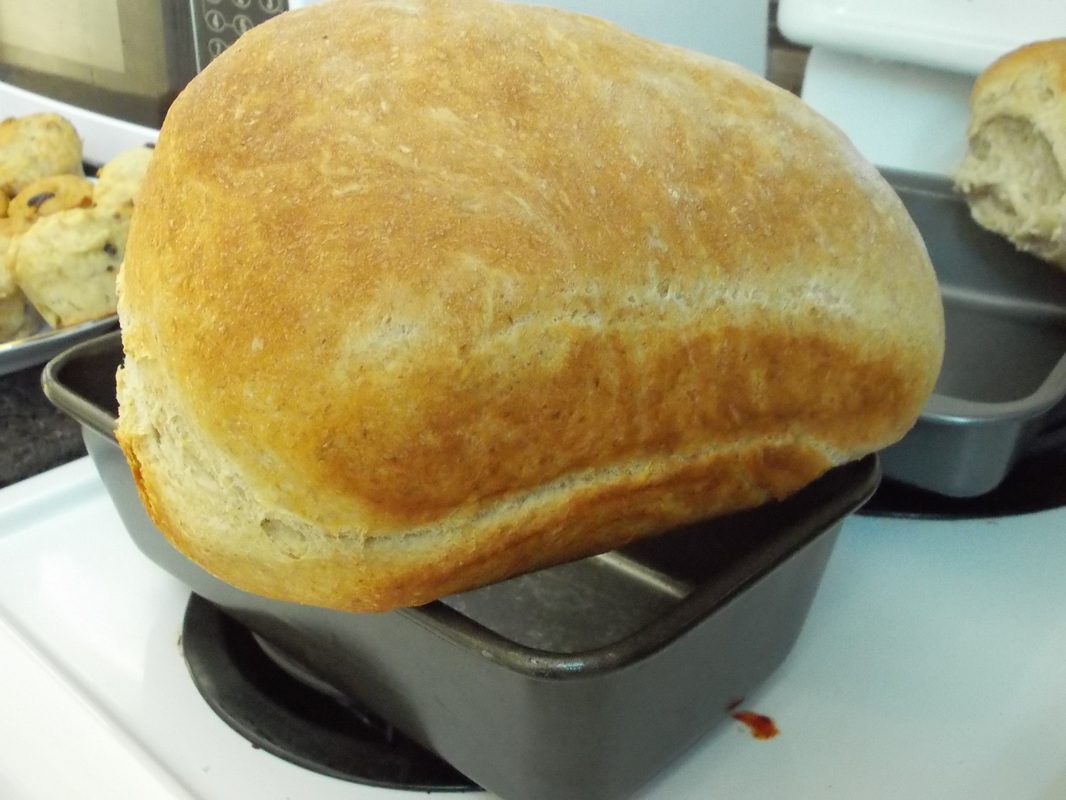
Now your bread should be cooked perfectly. To check that it is ready, turn a loaf out of the pan and knock on the bottom of it with your knuckle. If it sounds like you are knocking on a door (slightly hallow) then it is perfect. If it sounds muffled the bread will need to be baked slightly longer; its still doughy inside.
Once risen, the dough is ready to bake.
Bake you bread at 415'F for 15 minutes and then turn the temperature of your oven down to 375'F and bake for another 30 minutes. Do not open the oven during this process. This temperate change mimics traditional baking practices and the temperature change that would occur if baking over a fire. Fire doesn't stay a constant heat the whole time, it cools slightly the longer it burns.
Now your bread should be cooked perfectly. To check that it is ready, turn a loaf out of the pan and knock on the bottom of it with your knuckle. If it sounds like you are knocking on a door (slightly hallow) then it is perfect. If it sounds muffled the bread will need to be baked slightly longer; its still doughy inside.
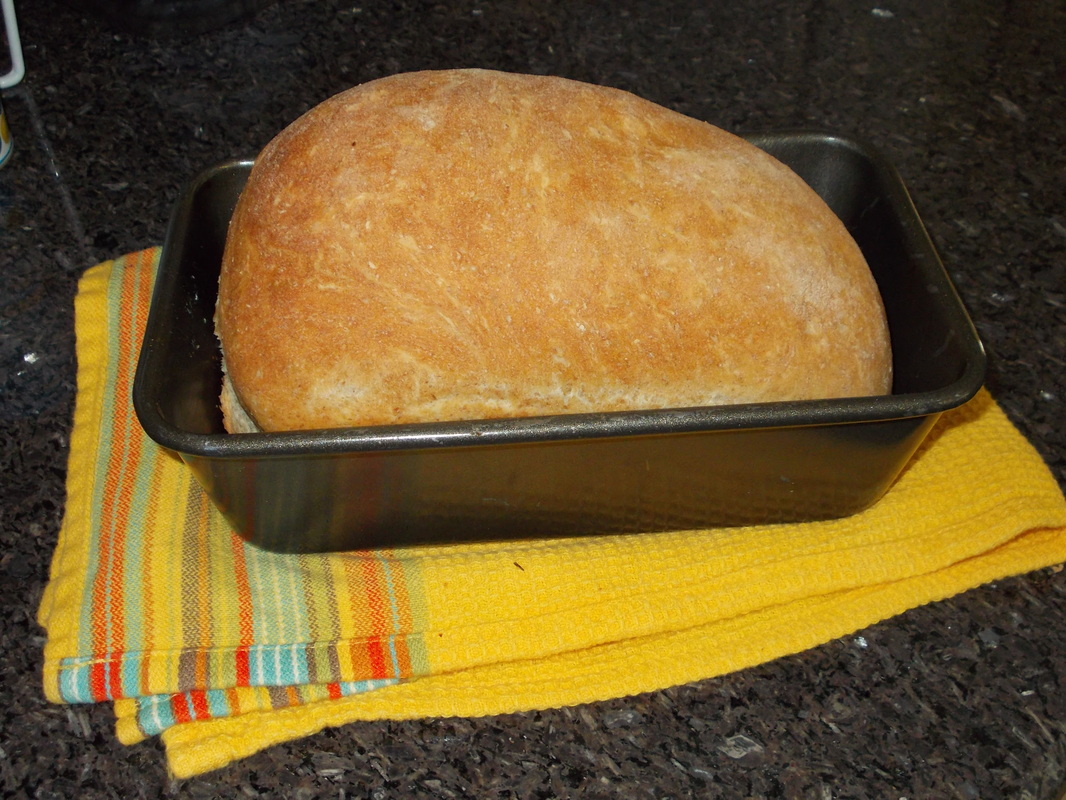
Congratulations! You now have delicious homemade bread.
To make sure your bread doesn't get soggy as it cools, get it out of the pans and let air get underneath it.
VARIATIONS:
If you want to add seeds, whole grains, or the like you can add these in with the dry ingredients right at the beginning.
For Garlic Bread you can add garlic powder at the beginning or minced garlic during the second kneading.
For Cinnamon Raison Bread add the cinnamon and raisons in with the dry ingredients at the beginning.
Get creative!
 RSS Feed